Can You Paint Over Polyurethane Sealant?
Have you ever wondered what benefits there could be if polyurethane is applied over paint?
Even seasoned DIY’ers hesitate when asked this question.
It’s a real eye-opener to learn that the right paint application can increase your paint’s life by up to 50%! With a background of over 15 years in materials and home improvement, I am uniquely qualified to help you.
This article will teach you how to apply polyurethane paint over existing paint, from compatibility tests and pro tips.
Table of Contents
ToggleCan polyurethane be used over paint?
You can apply polyurethane over paint. You can use either water-based or oil-based polyurethane on top of any paint, as long as it is clean and fully dried. This includes latex, spray paint, enamel and chalk paint. You must however be careful of discoloration from polyurethane, particularly oil-based.

What is Polyurethane?
It’s a polymer that is incredibly versatile. It’s everywhere, from your comfortable couch to your walls. Water-based and oil based are the two main types.
Water-based: This is the “nice guy”, the world of polyurethane. It is eco-friendly and has a low odor. It leaves a transparent finish.
Oil-based: Durable, but it smells stronger and takes longer to dry. Some people like the amber tint it leaves, as it gives off a vintage feel.
Read: How Long Does Wood Glue Take To Dry
What is Paint?
You can choose between two types of paint: oil-based or water-based.
Water-based: Quick drying, easy to remove and clean. This product is great for indoors or outdoors.
You can use oil-based paints for heavier-duty jobs. It is strong, but it takes longer to dry. This product leaves behind a shiny finish.
Is it possible to put polyurethane on top of latex paint?
You can add polyurethane to latex paint for a durable and protective finish. Let the latex paint dry for 4-8 hours before you apply polyurethane.
Use a high-quality brush or sprayer to apply a polyurethane based on water. It may be necessary to apply multiple coats. Sanding lightly in between each coat will ensure the best result.
It is also possible to choose oil-based polyurethane paint over latex paint.
You can apply polyurethane to chalk paint.
Read about: Woodworking Symbol of Feet and Inches explained
Is it possible to put polyurethane over enamel paint?
You can use polyurethane with enamel paint. Both oil and water-based versions will work.
The enamel paint cures quicker. You don’t need to wait between 21 and 30 days. You can wait as little as 7 days, but it is best to wait 14 days.
Add the polyurethane after it has cured.
Can you spray polyurethane on top of spray paint?
If you give the spray paint time to cure, then yes, polyurethane can be applied over it. Give the wood spray paint a minimum of 24 hours to cure.
Use a mixture of TSP and warm tap water to clean the surface.
For better adhesion, lightly sand it with 320-grit paper.
To achieve a bubble-free, smooth finish, use a brush or sprayer of high quality rather than a roller. Rollers can cause bubbles.
Can polyurethane be sprayed over paint?
You can spray polyurethane on top of paint. Polyurethane can be used to protect painted surfaces and give them a glossy, durable finish.
Be sure that the paint has fully dried and cured before applying polyurethane.
Follow the instructions for applying the polyurethane. Use the correct spraying equipment.
Can I use wipe-on Poly over paint?
You can apply wipe-on polyurethane to paint for improved durability and appearance. For best results, make sure the painted surface has been cleaned, dried, and lightly sanded using fine-grit paper.
Use a lint free cloth to apply the wipe-on polyester in thin, even layers. Wipe-on poly usually dries within 2-3 hours. However, consult the manufacturer for exact drying times.
How to apply polyurethane over paint
Supplies needed:
- Sandpaper (320-grit and 220-grit).
- Microfiber cloth or Tack cloth
- Painter’s tape
- Polyurethane (water-based or oil-based)
- Paintbrushes or foam brushes
- Paint tray or disposable container
- Protective gloves
- Respirator mask
- Safety goggles
- Drop cloth
- Stir sticks
- Rags
- Mineral Spirits (if using polyurethane based on oil)
How to apply polyurethane top coat over paint
Applying polyurethane coat
Step 1: Dress for Safety
Step one is to be safe. Safety is paramount, right?
Grab your safety gloves and keep your hands free of chemicals. Wear goggles to protect your eyes from splashes and a mask to avoid fumes.
It’s a bad idea to skip the safety equipment. You should keep your pets and children away from the workplace.
Health hazards are created by harmful fumes or accidental spills.
Step 2: Prepare your Workspace
Step two: Prepare your workspace for action.
Clear the area, yes even that heavy couch. Spread out drop cloths once you’ve cleared the area. You can use this to catch any drips or spills. It’s not fun to clean a floor that has been soaked in polyurethane.
What not to do? Don’t substitute thin plastic sheets or newspaper for drop cloths. You might end up with a mess because they tear or soak.
Step 3: Optimize ventilation
It is important to get the air moving, for both your health and your finished product. Open the windows and let some fresh air in.
Install an exhaust fan facing outside if you really want to go all out. This will remove those nasty fumes from the room.
Never, I mean NEVER, work in an area without good airflow. Why? Inhaling too much polyurethane can cause headaches and dizziness. It may even lead to respiratory problems.
Oil-based polyurethane is more powerful in terms of fumes than water-based.
Alright, ventilation check done? Next step: the ventilation check.
Step 4: Assemble Supplies
All the materials are in one place. Grab a can of high-quality polyurethane.
If you are using an oil-based polymer, then a natural bristle is the best brush to use. A synthetic brush will work best for water-based poly. Do not forget to use some sandpaper with a 220-grit.
Before you begin, gather all the materials together. It’s not fun to realize you’re missing something important when you’re already in the middle of a project. This can throw off your rhythm and waste time.
All right, you got your supplies? Let’s continue rolling.
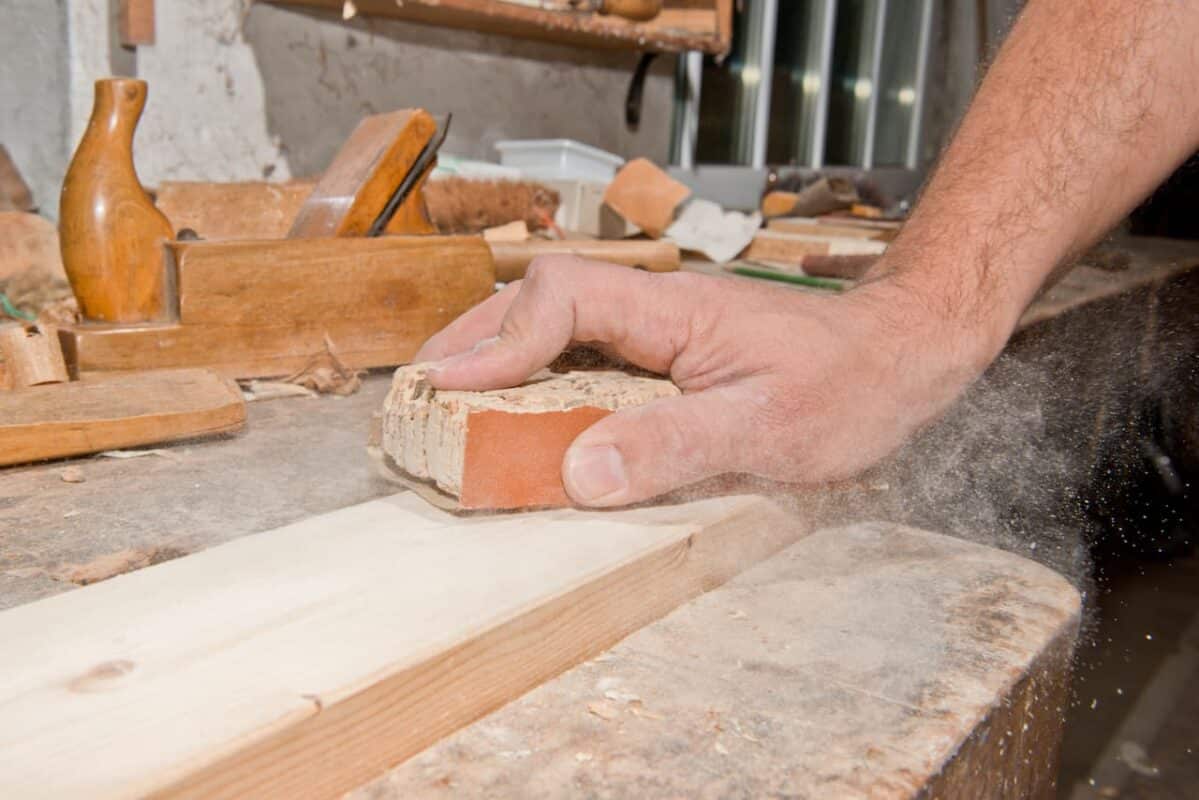
Step 5: Sanding the surface
Start at one corner and work your way around the surface using your 220 grit sandpaper.
You’re looking for a little texture and not deep grooves.
What not to do: Do not press too hard or use a coarser grit. This will only create marks, which you’ll need to remove later. Don’t forget the corners and edges, too. They want to look great.
The finish will look smoother and more professional with a gentle sanding.
Step 6: Clean Up
Tack cloth for cleaning sanding residue
You’ve done a great job sanding, but we still have some mess to clean up.
Use a tack or lint free cloth to gently wipe off all the sanding residue. To avoid missing any spots, start at one end and move to the opposite.
What not to do: While a damp cloth may seem like an easy fix, it is ineffective. Polyurethane and moisture are not friends. A wet surface will slow drying and can affect adhesion.
Step 7: Gently stir the pot
Grab a stirring rod and open the can. Stir gently in a cirlular motion.
The polyurethane finish can be gently rubbed.
Imagine that you are making a fine sauce. You don’t want this step to be rushed. You can thin the polyurethane if it seems to be too thick. Follow the manufacturer’s instructions.
By stirring the polyurethane well, you can achieve a professional finish. Keep it slow and steady.
What not to do: Please, no maraca movements! Shaking can introduce bubbles. Bubbles are the enemy of a smooth finish.
Step 8: Patch Test
Choose a discrete spot, such as behind a leg of a table. Wait 24 hours after applying a small amount polyurethane.
After 24 hours, check the area. You’re done if the spot is smooth and free of any issues such as peeling or bubbling.
If you don’t get the desired results, either your paint and polyurethane is not compatible or your surface preparation needs to be tweaked.
What not to do: Do not skip this step. A bad reaction will require you to redo the polyurethane work.
Step 9: Apply First Coat
To remove any excess, lightly tap the brush against the edge of the can. For the best results, apply using long, even strokes and go with the grain.
What not to do: Do not apply the polyurethane in a thick layer. This will result in a sticky, uneven finish that will take forever to dry.
Pro tip: Don’t hurry and work at a steady rate. Take your time to ensure smooth coverage.
How to apply poly over paint
Step 10: Sand and Wait
After the first coat has dried, sand gently the surface according to the manufacturer’s recommended dry time of 4-6 hrs.
Sandpaper with a 220-grit is best. Follow the grain. The goal is to just scuff enough of the surface to allow the next coat to adhere.
What not to do: Do not apply a second poly coat without sanding.
You don’t need to press too hard when sanding. A light touch will do. It’s important to only remove small imperfections, such as raised fibers and bubbles.
Pro tip: Wipe the surface clean with a tackcloth after sanding to remove dust. Then apply the next coat. This will ensure a smooth finish.
Step 11: The final coat
The final coat should be applied in the same manner as you did with the first.
If the surface you are painting will be in constant use, such as a kitchen or playset for children, then a third layer may be necessary to ensure durability.
Step 12: Finishing touches
Congratulations! You’ve reached the finish line.
Peel off the painter tape gently to reveal your masterpiece. You should clean your polyurethane tray and brush immediately.
You can use warm water to rinse off polyurethane if it is water-based. Mineral spirits will be needed to clean oil-based polyurethane.
Do not remove the tape too fast, or you could damage your newly coated surface.
Use caution for the first 48 hours after applying polyurethane.
Read: 2×6 Actual Size
Is it possible to put polyurethane on top of water-based paints?
You can apply polyurethane on top of water-based paint. Polyurethane can be used as a topcoat over water-based paint.
Before applying polyurethane, make sure the water-based paint has dried and is completely cured. To achieve the best possible results, follow the instructions provided by the manufacturer of the polyurethane products.
Can I put polyurethane on top of oil-based paints?
It is true that applying polyurethane to oil-based paints requires careful attention to details. Make sure the polyurethane and paint products are compatible. Give the oil-based paint enough time to dry.
Test a small area to see if there are any untoward reactions. Be mindful of the potential yellowing effect and ensure proper ventilation when applying.
What is the best way to apply polyurethane?
Polyurethane is a sealant that offers a barrier against moisture and wear. This is particularly useful for high-traffic areas like floors or frequently used furniture. The polyurethane sealant offers a barrier to moisture and wear. This is especially useful in high traffic areas such as floors or furniture that gets a lot of use. The paint is given a professional finish, and the sheen of the paint is enhanced.
Enhanced Durability – This is one of the main benefits. This protective coating protects paint against chipping, peeling and general wear.
Moisture Resistant: Polyurethane creates a barrier to protect painted surfaces from moisture. This is especially beneficial in outdoor areas, bathrooms, and kitchens where moisture can be a problem.
Polyurethane gives a professional, finished look to painted surfaces. It can also enhance a paint’s natural shine.
UV Protection: Certain types of polyurethane have added UV protection. This can be useful for outdoor items and surfaces that are exposed to direct sun, helping to reduce fading.
Easy Cleaning: The polyurethane coating makes it easier to clean the surface, creating a smoother and less porous finish. It is more resistant to stains, and easier to clean.
Polyurethane is a great way to enhance color. It can make colors richer and more vibrant. This is particularly useful for decorative or artistic items.
Polyurethane is versatile and can be applied to a wide range of surfaces, including wood, concrete and many others.
Longevity: An applied polyurethane coating can prolong the life of the paint job. This will save you time and money by reducing the need for touch-ups.
Wood to Metal Adhesives
Chemical Resistance: Polyurethane coatings can provide some protection against household chemicals. This makes them a great option for surfaces such as countertops and workshop tables.
Polyurethane is available in a variety of finishes, from matte to high-gloss. You can choose the shine level you want for your painted surface.
Water-based Polyurethane over Paint
Good:
Quick Drying: Water-based Polyurethane dries much faster than its counterpart oil-based, allowing for a quicker completion of your project.
Water-based polyurethane has a low odor and is low in volatile organic compound (VOCs). This makes it an eco-friendly choice and allows for indoor application.
Not So Good:
Water-based polyurethane has a lower durability than oil-based version, which makes it less suitable for outdoor or high traffic areas.
What is the best polyurethane paint over paint?
Your specific needs will determine the best polyurethane over paint. Water-based polyurethane works well for indoor projects due to its low smell and rapid drying time.
Oil-based polyurethane is the best choice for outdoor areas or areas with high traffic. Choose a product of high quality and test it for compatibility by applying a small patch.
How long before polyurethane can I apply paint?
Wait between 24 and 72 hours before adding polyurethane.
Wait a day or two if you are unsure whether the paint is fully dried. Oil-based paints can take up to 48 hours for them to dry.
The drying time will vary depending on humidity and temperature. Consult the instructions printed on the can of paint for the most accurate information.
How can you tell if the paint is dry or cured?
If you want to know if paint is dry or not, touch it firmly in a discreet area. The paint will be dry if it does not feel sticky or tacky.
If you want to know if your paint has been cured, use your fingernail. Paint is not fully cured if your fingernail leaves an indentation. The paint is fully cured when there is no indentation.
Do not apply polyurethane until the paint is fully dried. The sanding and cleaning process can damage the paint.
After-Application Care
For long-lasting results, it is important to take care of your tool and finish.
Cleaning Your Tools
It doesn’t need to be difficult to clean brushes. Mineral spirits are needed for oil-based poly. Warm water and soap will do for water-based poly.
Let them completely dry before storing.
How to maintain the polyurethane finish
Use a mild detergent and a soft, clean cloth to gently wipe the finish.
A little furniture polish will add a lustrous shine. Simply buff the surface gently.
Long-term care tips
Avoid extreme temperatures and direct sunlight for the long term. Your surface will love mats and coasters. Touch-up kits can be used to fix minor damage.
FAQ
Can Minwax polyurethane over paint be used?
Minwax Polyurethane is suitable for use over paint. Minwax has a variety of polyurethanes that are designed for use over painted surfaces.
They offer protection, durability and a beautiful finishing. For the best results, follow the Minwax instructions.
Can you apply polyurethane to a painted floor?
Polyurethane can be added to painted floors to extend their lifespan and improve their appearance. Make sure that the paint has fully dried, which takes about 24 hours.
Before applying the paint, lightly sand and clean the surface. Do a test patch first to make sure the polyurethane and paint are compatible.
Is it possible to put polyurethane over white paint?
Even if you use water-based polyurethane, it will yellow in this scenario. Even water-based polyurethane will yellow in this scenario.
Many manufacturers warn you against using it on white paint, for fear of the result.
Can I put clear polyurethane on top of paint?
You can. Clear polyurethane has many advantages, including its UV protection, durability, resistance to moisture and scratches, and ability to enhance the appearance.
It adds a shiny finish and provides a long-lasting, strong protective layer. It can be used on a variety of surfaces. When choosing a coating, consider the project requirements and instructions from the manufacturer.
Can I put polyurethane on painted furniture?
Polyurethane can be applied over painted furniture. You can apply polyurethane over many types of paint including acrylic, latex, chalk and enamel.
Before applying polyurethane, make sure the paint has dried and is curing. For compatibility and the best results, follow manufacturer’s instructions.
Is it possible to put urethane on top of paint?
You can apply urethane on top of paint. Polyurethane is used to protect painted surfaces with urethane.
It can give the paint a shiny finish and increase its durability by resisting moisture and scratches. It can be used on a variety of surfaces, including wood, metal and certain types plastic.
What to avoid when applying polyurethane on top of paint
- Applying polyurethane to fresh paint is not recommended. Wait until it has completely dried before applying. This will prevent any unwanted chemical reactions and texture changes.
- Avoid overworking the polyurethane: excessive brush strokes can cause streaks or bubbles to appear in the finished product. Avoid going over the same spot repeatedly. Use deliberate, smooth strokes.
- Avoid extreme temperatures when applying polyurethane. Extreme heat or cold can cause the drying and curing processes to be affected, resulting in uneven results. For optimal results, choose moderate temperatures for application.
- Avoid using low-quality brushes: A cheap or inferior brush can result in bristle shedding or marks, which will compromise the smoothness and finish of the polyurethane. For a professional result, invest in a quality brush.
- Avoid applying polyurethane with excessive force: This can result in drips, sagging or an uneven finish. To achieve a perfect finish, apply thin, even layers and allow enough time for each coat to dry.
What are your final thoughts on the use of polyurethane over paint?
You can use polyurethane on top of paint, as you’ve seen in this article. To avoid ruining your paint job, we have made the distinction between drying and curing.
You can speed up the drying process if the paint is taking too long.
It’s time to test your knowledge. You will need to choose whether you want to use oil-based or water-based polyurethane.
Jess Reid
Jess Reid is the team's expert on finishes and toy safety. She came to woodworking through years of restoring vintage children's furniture, with a focus on stripping suspect finishes and replacing them with non-toxic alternatives. Jess writes about water-based stains, beeswax oils, ASTM F963 / EN71 compliance, and how to choose a finish that's safe even when a one-year-old decides to taste it.