Uncategorized
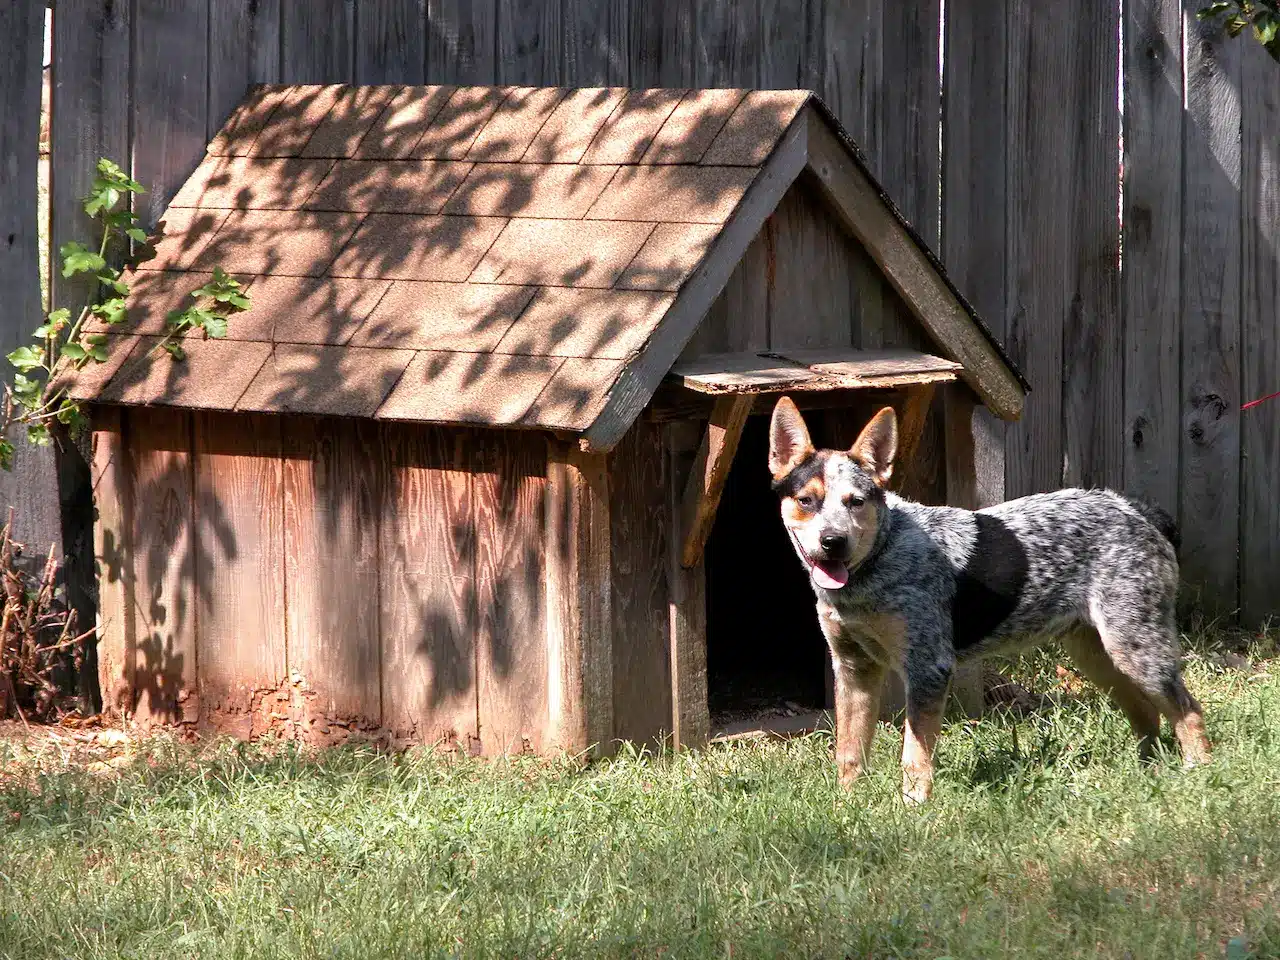
How to Build a Dog Kennel
Learn How to Build a Dog Kennel For Your Pooch!
Are you looking to learn how to build a dog kennel for your best friend? You love your dog and probably consider it a member of your family. It’s a wonderful way to show how much you love your dog, but a doghouse also provides shelter from the sun, rain, wind, and other elements that your dog might encounter.
Be careful before you build a simple structure out of some construction materials that are lying around your home. A poorly constructed doghouse can be a safety risk for your pet. Purchase new construction materials and follow the steps below to build a safe doghouse for your pet.
Plan Your Doghouse
You must first make a detailed doghouse plan, including measurements for the roof, walls and the overall size, based on your dog’s size. You will need to adjust your measurements to accommodate the eventual full size of your dog if they are still growing.
The length of the doghouse should be 6 to 1 foot more than your dog’s height, to allow them ample room to rest. The height and width of the house should also be equal.
If your dog is 2 feet long, the doghouse length should be 36 inch. The doghouse’s height should also be 36″ and its width should be 30″. The doghouse opening should be at least six inches higher than the height of the dog and six inches wider, to allow the dog to enter or exit the house without difficulty. The opening for a dog measuring 1 1/2 feet high and 1 foot wide should be at least 18 inches tall.
You will need to make several measurements to determine how long the 2x4s are needed to build the sloped A frame. Calculate the half width of the house and the height of the roof from the top wall. Half the width of the doghouse would be 15 inches and the height from the top wall to the peak of the roof would be approximately 6 inches. You can adjust the height if you want to change the slope of the roof.
Pythagorean Theorem: Using these measurements, find the lengths of the sloped side of the A frame using the Pythagorean Theorem. (a2 + B2 = c2). The calculation for the given example would be 152 +62 = 16.2. Add about an inch to the length to ensure that the roof extends over the wall. This can be rounded to 17 inches.
Consider the doghouse’s structural integrity, ventilation and insulation needs. Some designs may use 2x2s but you should opt for a stronger 2×4 frame to prevent your doghouse from collapsing during bad weather. In addition to the opening at the front, you can improve ventilation by adding additional openings on the top of walls and underneath the roof overhang. You can insulate the walls, roof, and floor of the doghouse to improve the comfort and reduce heat loss.
You should check local building regulations to see if a permit is required for your doghouse. It’s not necessary to obtain a building permit in most cities or towns for a small house on your property. However, it is always best to check ahead. You may be fined or have the doghouse torn down if you fail to obtain a permit.
When you are checking your local regulations, be sure to pay attention to the laws that govern leaving dogs outdoors. The dog house is a great place for your pup to relax, but it shouldn’t be their permanent home. PETA states that dogs should never be left out in extreme heat or other weather conditions. American Kennel Club states that many municipalities have local laws that govern when and how you can keep your dog outdoors. If you plan to leave your dog out for a long time, you should treat it with compassion and follow all the rules and regulations.
How To Build A Doghouse
Draw a simple layout of the doghouse as an accompaniment to your written plan. You can then visualize the dimensions more clearly while building. Take some time before you buy materials to finalize your plans. Decide where you want the yard and whether you’ll be installing a flat or sloped gable roofing.
What you’ll need

- 2x4s
- Plywood
- See
- Tape measure
- Drill
- Screws
- Roof nails
- Shingles
- Tar paper
- Paintbrush
- Primer
- Paint
Step 1: Purchase all the necessary wood, screws, and other materials
You should already have your materials in mind. These include 2x4s and plywood, screws of 3 inches, screws of 1 1/2 inches, roofing nails and shingles. The size of the doghouse will determine the number of 2x4s and sheets of plywood you need, as well as the screws, nails, shingles, and roofing nails. To determine what materials you will need, refer to your plans. It’s better to buy more than you think you need if in doubt than run out of materials mid-build.
Step 2 – Measure, Cut and Build the Base
After you have decided the size of your doghouse you can begin work on the base. Cut two 2x4s long enough to equal the length of the doghouse. Measure and cut three 2x4s shorter, equal to planned width of doghouse. The short pieces are used to form the base width, and the long pieces are used to build the length.
Place the 2x4s in a flat position on the 2-inch side. Then, line them up so they form a rectangle. Two short 2x4s should be placed opposite one another and two long 2x4s against each other. Place the shorter piece in the center of the floor to add additional support.
Use your drill to screw two 3-inch screws into each corner of the length pieces. Drill through the middle of each length into the end of the central width piece.
Installing the Insulated Floor
The doghouse’s floor will be made from plywood. Cut a piece to fit the base frame. If you’re insulating your doghouse, cut the foam insulation board so that it fits between the floor joists. Attach the foam insulation to the plywood using weather-resistant outdoor glue. Use 1 1/2 inch screws to attach the plywood flooring to the framing. Position the insulation-facing plywood on the base. Make sure to read next: How long does it take wood glue to dry?
Step 4: Build the Framework
Next, you will need to cut and measure the frame for the front, sides and back of the doghouse. Cut four 2x4s to serve as corner posts of the doghouse. Cut these four 2x4s according to your plan’s measurements. Cut four additional 2x4s to the dimensions of the base.
To secure the posts to the base, drill two screws of 3 inches through each corner post. The four remaining 2x4s will be used to build the roof base. Attach the corner posts to the roof base by securing the tops of the corners. If you’re building a doghouse that has a flat top, a third piece can be cut and installed in the middle of the roof base. This is identical to the support beam on the floor base.
You will need to cut and measure six more pieces if you want to build a sloped roof with a gable. This includes the A-frame wall at each end and the center support running the length of peak. Cut two 2×4 angled pieces per front and rear of the doghouse using the Pythagorean Theorem. The roof base will serve as the bottom part of the triangle. Position the pieces in the front so that they form a triangular framework. Attach the pieces at the middle and attach them to the base of the roof with screws measuring 1 1/2 inches. Repeat the process on the other side of the doghouse.
Two 2x4s should be cut to the exact length of the roof peak. Drill 3-inch screws into the 4-inch sides of both 2x4s and the 2-inch sides of the other 2x4s to create a triangular beam. The support beam should be placed at the top of the triangular frame between the two frames. This will form the triangular support beam in the center for the roof. Attach the support beam with two screws of 3 inches at each end to the triangular frames.
Step 5: Attach the Plywood Walls & Roof
Test the strength of the frame by shaking it, shifting it, or applying weight. You can then begin to attach the roof and walls of plywood. Two rectangular plywood panels will be needed for the sides of the doghouse. Cut them out and attach them with screws 1 1/2 inches long. Then, you will need to measure, cut and secure the backside of the doghouse. Pay attention to the angles at the top for a doghouse that has a gabled roofing.
Repeat the process for the front, but be sure to cut out the opening in the plywood before attaching it to the frame. It is important that the opening of the entrance be large enough for your dog to easily enter and exit the doghouse.
The roof is completed by cutting and measuring the plywood panels. The plywood panel for a flat-roof doghouse should be slightly bigger than the panel you use for the floor so that the edge extends past the sides of your doghouse. You will need two rectangular panels if you are building a doghouse that has a gable-sloped roof. Be sure to choose panels that are large enough to overhang the sides of your structure. Screw 1 1/2 inch screws into the panels and roof joists.
Step 6 – Add Shingles for Leak Prevention (Optional).
It is not necessary to add shingles, but adding some roofing shingles on top of the plywood roof will make it more durable. Use roofing nails to attach the shingles after applying tar paper to create a waterproof layer over the plywood. Be sure to pay attention to the shingle placement to make sure that they overlap enough to keep water out of the roof.
Step 7 Prime and paint (Optional).
As with shingles and siding, primer and paint are not required on a doghouse. However, adding a primer and a paint color that you like can improve the appearance of the house and add a protective layer of paint over the wood. This will help to extend the lifespan of the doghouse. You can attach additional insulation to the inside walls and roof using an outdoor weather-resistant adhesive. Read: The best waterproof paint for the job.
Safety Considerations
To prevent this, invest in quality construction materials and carefully plan the exact measurements for the doghouse so you can feel confident that it won’t blow over or collapse when there is heavy snow, rain, or high winds. Invest in quality materials for construction and plan your doghouse’s exact dimensions to ensure it doesn’t collapse or blow over in heavy rain or high winds. Also, your dog should not be left outside during extreme weather conditions.
Place the doghouse in an area that is shaded and relatively protected from the wind, rain, and sun. This positioning will protect your dog against high temperatures in the summer, heavy rain, and strong winds. You can also install insulation in order to keep dogs warm in winter and cool in summer. Check the interior of the doghouse after you have finished the project. Make sure there are no protruding screws or nails.
Following these steps and being careful will allow you to create a comfortable, durable space for your dog during outdoor time.