DIY
How to Build a Pergola
How to Build a Pergola for A Beautiful Entertaining Area
Follow these steps to build a beautiful pergola as a perch for climbing plants, to finish off a concrete slab, or to create an airy outdoor room.
Project Overview
- Working Time: 12 hours
- Total Time: 12 hours
- Skill Level: Intermediate
- Estimated Cost: $200+
Rather than spending thousands of dollars to tear out a concrete slab and refill it with topsoil, learn how to build a pergola. A backyard pergola attached to the house or a freestanding DIY pergola can be completed in two or three weekends. Pergola materials are also relatively inexpensive.
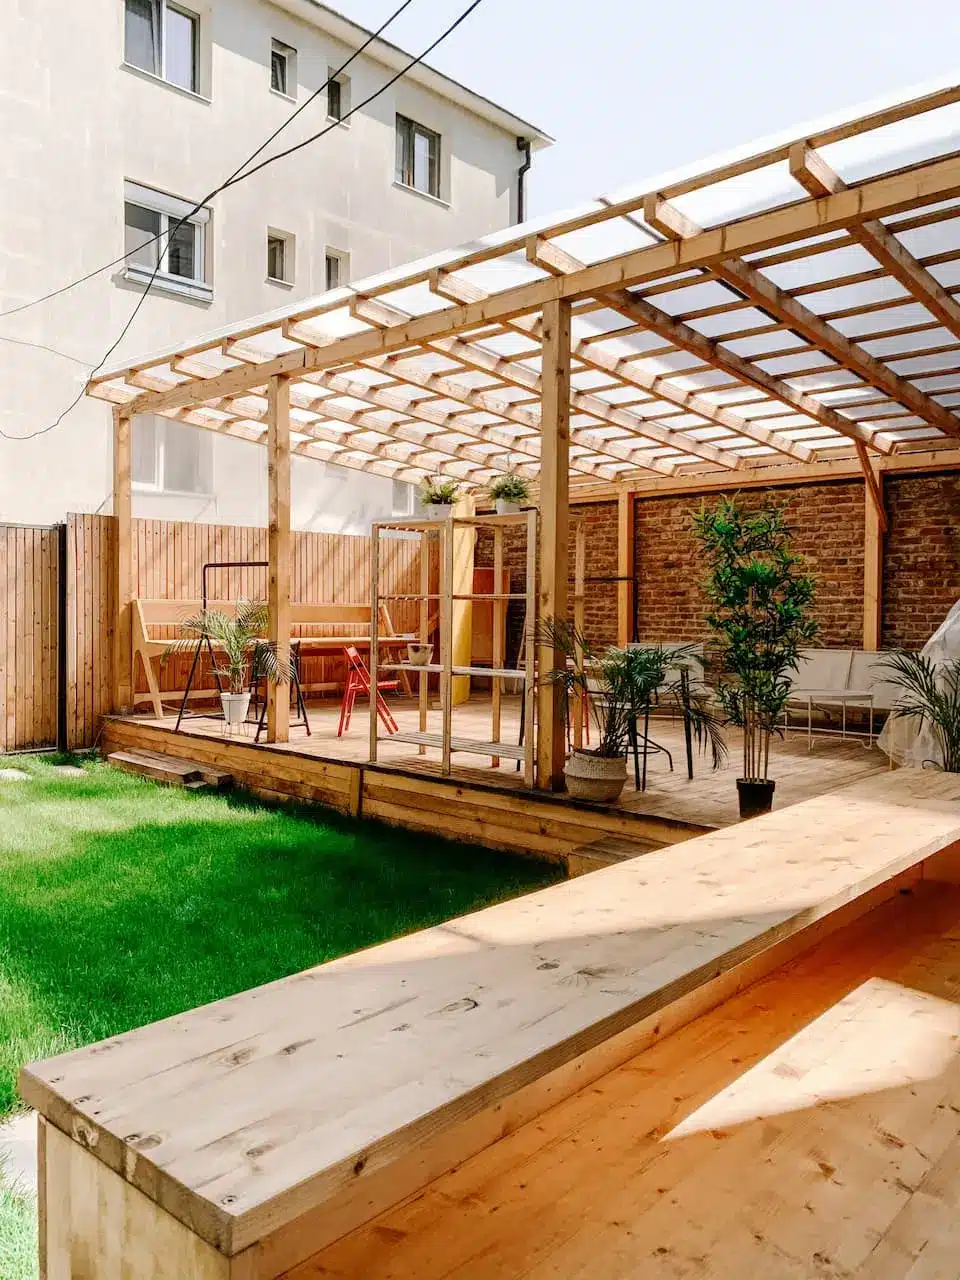
Both open and covered pergolas provide a beautiful setting for backyard barbecues, firepits, hot tubs, and more. DIY pergolas are also ideal for climbing plants, creating an area of dappled sunlight that’s ideal both relaxing and entertaining. You can make it as shady as you like by adding climbing plants and creepers, or topping off the structure with fabric. The four corners of the pergola can also be anchored with planter boxes. We’ll show you how to prep and assemble a DIY pergola that’s perfect for outdoor living.
What You’ll Need
Equipment / Tools
- Tape measure
- Polyurethane glue
- Posthole digger
- Carpenter’s level
- Shovel
- Backsaw
- Miter saw
- Circular saw
- Clamps
- Drill
- Saber saw
- Chisel
- Hammer
Materials
- Wood: 6×6 posts, 2x10s, 2x2s
- Concrete mix
- Deck screws
- Bolts (if attaching to an existing structure)
- Gravel
Instructions
How to Build a Pergola
The following steps detail building instructions for a DIY pergola. Customize your structure with additional pergola design ideas, paint, or stain.
Plan Pergola Design and Dig Holes for Posts
Plan to sink posts at least 3 feet into the ground for a freestanding backyard pergola. For example, an 8-foot-tall pergola needs posts at least 11 feet long. If possible, bolt some of the posts to existing decking posts or similar strong structural members.
Using a posthole digger or an auger, dig the postholes at least 30 inches deep or to the depth required by local codes. Shovel several inches of gravel into the bottom of each hole and insert the posts. (You’ll cut them to height later.)
Set Pergola Posts
Brace the pergola posts temporarily, so they are plumb. Use 3- to 4-foot 2x4s or 2x6s at the bottom and 1×4 or 2×4 angle braces anchored to stakes. Getting the posts both plumb and placed at the correct depth may require some shifting, but it won’t be readily visible if you are off an inch or so.
Combine water and bagged concrete mix and fill the postholes. Work the mix up and down with a stout stick to remove all air pockets. Overfill each hole so rainwater will run away from the DIY pergola post.
If your building site allows you to anchor posts to an existing structure, do so using bolts. Take time to ensure the pergola posts are perfectly plumb.
Cut and Install Roof Beams
For a basic garden pergola, the frame supporting the pergola roof consists of doubled 2×10 beams. These four beams create the solid structure supporting the notched rafter pieces.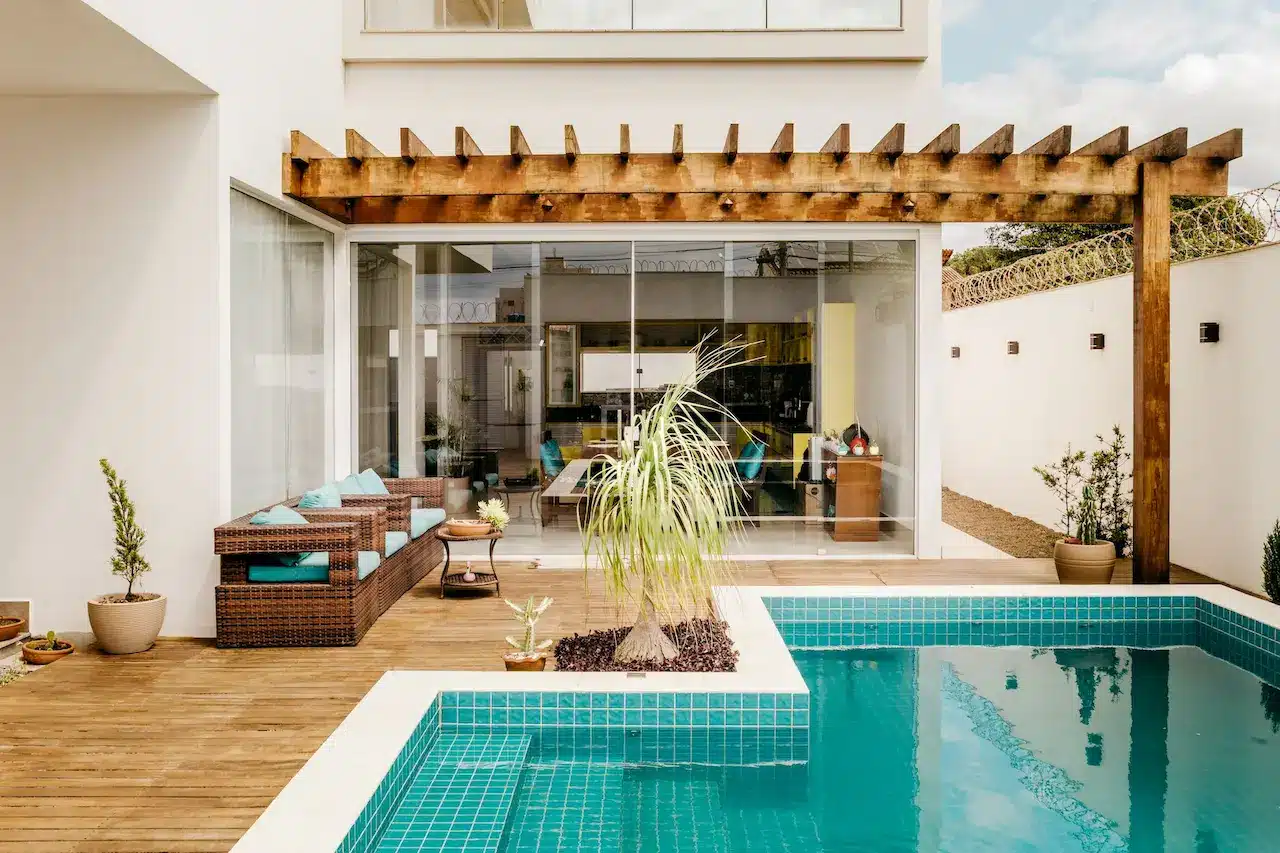
Prepare for installing the beams by cutting the posts. Mark the cutoff lines on the posts, and be sure to account for the 2×10 beams before finalizing the height of the posts. Cut the posts with a reciprocating saw.
Measure the distance between the posts at the top and miter-cut 2x10s for the outer beam pieces. It’s okay to bend the posts an inch or two if they are not equidistant.
Working with a helper, place each beam piece so it aligns with the top of each post, and attach them by driving three 3-inch deck screws into each joint. Measure and cut the inside beam pieces. Laminate them to the outside beams using polyurethane glue and 1-1/4-inch deck screws driven every foot.
Also read our next article about maintaining a deck: Tips for Maintaining Your Deck for Years to Come. Don’t let it go to waste and rot away!
Determine Roof Design
A basic pergola roof consists of notched 2×10 lower rafters set perpendicular to the upper rafters. Generally, the lower rafters are 2 to 3 feet longer than the arbor width, and the uppers are 2 to 3 feet longer than its length.
The rafters often have decorative ends. Develop a pattern for your rafter ends using a freehand drawing or use a purchased or borrowed pergola plan. The design can be as simple or intricate as you would like.
Add On
On top of the lower rafters, cut a notch for the upper rafters to fit into. Cut notches on the bottom of the upper rafters for every lower rafter. Place all rafter notches an equal distance apart.
Cut the notches first with a circular saw, then a saber saw. Clean out the corners with a hand saw and chisel. As you work, check that the notched rafters will fit tightly together.
Raise the Roof
Next, notch the rafters. For the lower rafters, notch the bottom of each end so the rafters will fit over the beams. The notches should be 3×2 inches.
Add Finishing Touches (Optional)
If your DIY pergola wobbles, stabilize it with angled braces. Apply two or more coats of stain, finish, or paint to the pergola for long-lasting style.
After you have finished, you will want to read our next article to keep it clean: Best Deck Cleaners of 2023 for Your Home
How to Build a Pergola Planter
If desired, you can anchor the four corners of your pergola with planter boxes. To build the four planter boxes around the pergola posts, attach 1x4s to 2×2 framing with 1-5/8-inch screws. Butt-join the corners, line with 4 mil plastic sheeting held in place with staples, and cover with 1×4 trim pieces. Top it off with a 1×4 ledge and fill it with soil.