Top 10 Tools For Kids & How To Teach Them Safely
It’s a good idea to involve your children if they show an interest in learning about the tools you use. They will learn how to use the tools, and they will also strengthen your relationship with them. Safety is always a major part of any instruction, regardless of what tool the child is learning.
Table of Contents
Toggle1. Screwdrivers For Kids
Learning the difference between screws allows a child to disassemble many items. The ability to take things apart, which screwdrivers are great at, is an important step in understanding how things work and using hand eye co-ordination.
Recommended Age: From 3 Years and Up
Objective: To improve the child’s coordination and fine motor skills
The level of parent involvement is low once the child has started working with the materials, mainly preparing the activity.
Prerequisites
- None
Materials
- A 20 cm long piece of wood that is around 5 cm thick
- 5-6 screws
- A small screwdriver
- A drill
- A tray for storing the timber
- Small box for screws
Preparation
- Drill 5-6 holes of varying lengths in the wood, spaced a few centimetres from each other
- Place wood and screwdriver in the tray, and screws in the small container
Steps
- Tell the child that you will be showing them how to use an electric screwdriver
- Display the materials prepared on the tray and the child can bring it to their table
- Identify the materials (timber, screws and screwdriver) with the child
- Place a screw in the hole of the box so that it stands up
- Take the screwdriver and show the child its star-shaped end. (You can mention that it’s called a “drive”).
- Explain to the child that the tip of the screwdriver should go into the drive
- Show your child how to insert the screwdriver in the drive
- Tell the child that you will turn the screwdriver in a clockwise motion (back and forth, twisting) to screw the wood into the screw
- Remove the screwdriver once the screw has been flushed with the timber
- Have the child screw the remaining screws with the screwdriver
- Let the child work independently
- After they are finished, show the child how to remove screws using a screwdriver. Rotate the screwdriver the other way than before
- Let the child do all of it
- Let the child continue to practice
Variations
A child can practice using a nail and hammer by hammering nails into a piece wood with a child-sized hammer.
Here are two sets that we love and have great reviews!
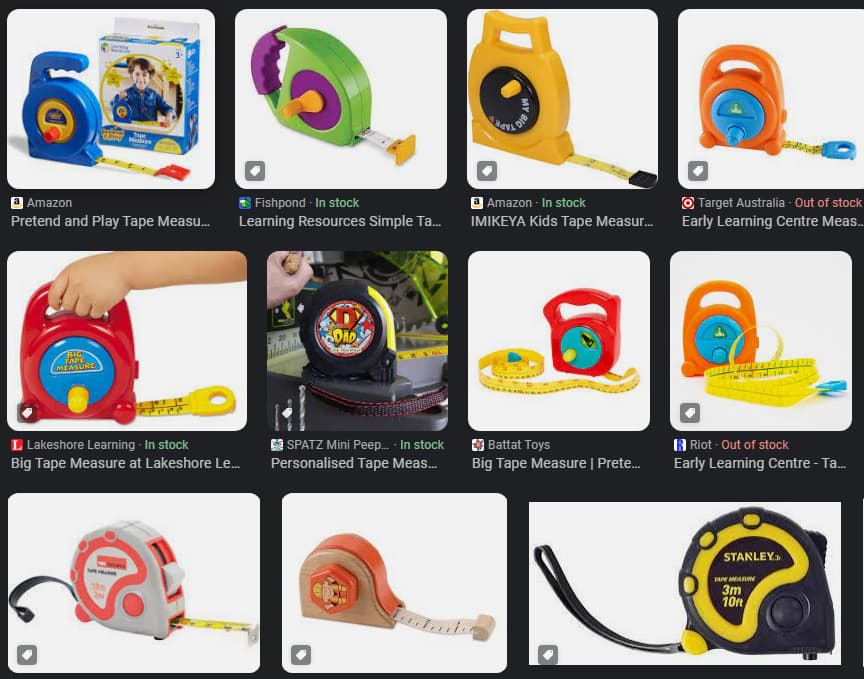
2. Tape Measures For Kids
Kids are used to numbers, and they enjoy using this new skill. It is easy to practice reading a tape measure by measuring items around your home.
Measuring is a key skill in science. Data collection in science is done by measuring. It is important to have the ability to measure. Consider how often you use measuring cups.
In the kitchen, you use measuring cups for recipes. When you are building something or decorating a space, you use rulers and tape measures. It may seem intuitive, but measuring is a skill that must be taught. Just like any other skill, it is important to practice measuring. Here are some tips for teaching your child how to measure.
Practice with Cups
Set out cups, bowls and spoons to encourage your child’s exploration.
Measure with different materials. Use whatever you are comfortable with allowing your child use. Water, flour, dirt, and sand are all great materials to use for learning line reading.
Allowing your child to help you in the kitchen will allow them to develop their measuring skills. Your child will gain valuable experience by measuring ingredients and adding them to recipes.
Use of a Ruler
Teach your child the correct way to use a ruler. The zero line is the line at which the end of the item to be measured should be placed. The zero line can be found at the end of some rulers; on others, it is the first line.
You can teach older children how to use the marks between the large numbers. (1/2, 1/4 and 3/4, or even 1/8ths and 1/16ths, if that is what you prefer). You can also teach your children to measure both in centimeters and inches. Each mark on the centimeter-side of a ruler represents 1 millimeter (1/10th of a centimeter). This division is actually easier than the sixteenths of an inch on the inches side.
Non-standard Measuring
Children can also learn to measure using non-standard methods. You can measure with any object instead of using a ruler. We used sticky notes, for example, to measure Aiden’s cars. The sticky notes were lined up one after another. Aiden’s car was 6 sticky notes in length.
Use your child’s feet, hands or body to measure. How many “feet long” is your bed? How many Aidens is your room long? Children can learn about measurement by using non-standard measurements.
Want to learn more about measuring? Check out our guide: The Woodworking Symbol of Feet and Inches and see these two measuring tapes that we loved!
Have fun with your measuring practice. You will learn and develop skills as you play.
3. Block Plane For Kids To Watch & Learn
Small block planes aren’t a commonly used tool, but children will enjoy them. Fun tasks include chamfering corners with the plane held in two hands and simply planing boards for shavings.
A plan is tool used to shape wood. The plane is used to smooth out rough lumber, flatten it, reduce its thickness, and give it a smoother surface. The tool’s name suggests that it turns the surface into a flat plane.
These come in useful also when you are using putty for nail holes and need to smooth the surface before you start.
Hand planes consist of a combination of a sharpened metal blade and a solid body that, when used on a wood surface will produce shavings of relatively equal size. This is because the body rides over the “high spots” in the wood.
This needs adults showing kids but here is one of our favorite block planes.
4. Clamps For Kids
Tips on using clamps with children and keeping them engaged
Give Kids Context
Remind kids that all tools will be tools with two hands. Children will also need to be able to secure their work, since both hands will operate the tool. Maybe even attach tiny pieces to a more stable, larger object.
Demonstrate
Demonstrate the difference between the two clamp types, with an emphasis on the superior twisty type. The Squeeze clamps are easier to use, and so they’re often chosen by campers. Twisty clamps are superior in terms of holding power, so the 30 second learning curve is worth it.
Show that the clamp has two triggers: one smaller and another larger.
You will need to perform different functions depending on the type you own. Some clamps use a screw system while others are clamp-and-release.
Demonstrate how holding and pressing the smaller trigger will allow the jaw to move backwards or forwards. This allows you to change the size of the opening. Show how repeatedly and firmly pressing the larger trigger slides forward the jaw, allowing the grip to work.
Show the two ways to interact with the clamp: squeezing tabs to slide lower jaws; and tightening screw.
Show them that by squeezing on the tab, the lower jaw can slide backwards or forwards to make the opening bigger or smaller. To improve grip, let them see how the screw can be turned to make the opening smaller.
Show how to clamp two pieces of wood together to join them with screws. This will allow the builder to drill using both hands. Show how to clamp the work to a bench for more stability. Two clamped pieces can be joined by screwing them together. This will give the group more context.
Before Clamping: Ask kids: Which two pieces am I holding together? The pieces must be large enough to not move once clamped. Or should they be clamped to something heavy for stability?
Model the clamp by using your hand. This strategy is great because it mimics the shape of the clamp’s mouth and can prevent clampers from clamping down to nothing.
Keep Clamp Tails out of the Way
If the tail of the clamp is left unused, it can cause problems or poke people. If possible, keep the clamp tails away from people.
Another tool for adults but these two are great to help kids understand, watch and learn how the basics work!
5. Vise
Every Kids Workshop needs a Vise
A vise is a very useful tool for the workshop. A vise is essential for small woodworking projects to hold wood pieces in place while you drill or cut into them. The larger vises are too heavy and need to be bolted onto the table. It can be used by any child over 7 years old. This was the perfect tool for cutting yardsticks when we were making our pencil box.
Every carpentry area for children should have a bench vice, it will help you to drill and saw more safely and easily.
A young child can achieve a lot by cutting through a block of wood. It takes a lot of concentration and effort to cut through a piece of wood. Even better, the feeling of accomplishment is great afterward!
Children will struggle to keep the wood still while the saw is in use so it is always recommended to clamp the wood piece in a bench vice of good quality. This will hold it steady. This will allow the child to concentrate on the constant push-pull action of sawing. It also keeps the hands away from blades.
Different Types of Vices For Kids
Here are a few we found for kids to start learning from and are a bit less risky to use. Always keep a parent supervising however!
6. Pencil
Carpenter pencils (also known as carpentry pencils or carpenter’s pens) have a body that is rectangular or elliptical in shape to keep them from rolling. Carpenter pencils have a larger surface, making them easier to hold. Little fingers can struggle with thin pencils and they don’t have as much control. These pencils can be used for all kinds of things.
Do they know how to correctly use the writing implements that your child probably has used for many years? It is important to learn how to draw a straight line and how vital a sharp pencil can be.
7. 4'' Square
Although they will not be cutting complex joints by hand anytime soon, children should know how to use a square. This can lead to discussions on geometry, as perpendicular and parallel are important in woodworking, but also in life.
8. Cordless Drill
A low-powered small drill can be used to drive screws, use dowels, and countersink pilot holes. It’s not the first power tool I teach my children to use, yet adding more power opens their eyes. Respect must be shown.
Cordless Drills For Kids To Try
Here are a few drills from plastic to real working drills. Always supervise and use protection. Teach them good habits early!
9. Hammers For Kids
Hammers are a versatile tool that can be used for many things, including nailing, tapping dowels, and more. Many hardware stores carry a small hammer.

10. Hand Saw
We mainly use Japanese saws, and I’ll teach with them. Western-style saws can be difficult to use if you don’t have the strength and confidence in your upper body. A Japanese saw, on the other hand is more robust and forgiving.
Starter Saws For Kids
These saws are a bit more forgiving and have smaller teeth or a guide to help keep little fingers safe. Make sure they have proper gloves on for this one!
Safety Gear For Kids
Keep Your Kids Safe While Learning Woodworking
Fun Woodworking Kits
Let your children put their own toys together and learn in the process with these fun kits we found!